1. Unboxing the Printer
Unboxing a printer is simple! Open the box carefully, remove all packaging, and take out the printer, cables, and manuals. Check for any protective tapes or covers. Place the printer on a flat surface, ready for setup.
Printer installation is simple if you follow the right steps. Here’s a guide to Printer Setup, from unpacking and installing drivers
to setting up wireless printing for a smooth experience.
Unboxing a printer is simple! Open the box carefully, remove all packaging, and take out the printer, cables, and manuals. Check for any protective tapes or covers. Place the printer on a flat surface, ready for setup.
To load paper into a printer, open the paper tray, adjust the guides, and place the paper neatly. Make sure it's aligned to avoid jams. Close the tray and select the correct paper type in printer settings.
To get the best print quality, you can align the ink cartridges. Go to your printer’s settings, find the alignment option, and follow the on-screen instructions. This helps prevent blurry or uneven prints.
To install printer drivers and software, download them from the printer’s official website. Run the setup file, follow on-screen instructions, and restart your computer if needed. This ensures smooth printing.
Press the power button and plug the printer into a power outlet to turn it on. Await the activation of the indication lights. It can take a few seconds for the printer to start up.
Open the printer’s ink cartridge door. Remove the new cartridges from their packaging. Insert them into the correct slots. Push them in until they click. Close the door and wait for setup.
Go to the printer's settings, pick "Wireless Network," and then pick your Wi-Fi network to connect your printer to the internet. After entering the password, watch for the connection to finish.
You can print a test page by selecting your printer in the printer settings on your computer and then clicking "Print Test Page." This makes it easier to determine whether the printer is operating properly and has enough ink.
Save time and effort by using a fast, reliable printer. Keep it well-maintained, use quality ink, and set up shortcuts for quick printing.
To keep your printer working smoothly, use quality ink, clean it regularly, and update software. Avoid paper jams by using the right paper size.
We offer customized solutions to meet your printing needs. Whether it's troubleshooting, setup, or maintenance, our experts provide the right support for your printer.

Printer installation is simple if you follow the right steps. Here’s a guide to setting up your printer, from unpacking to installing
drivers and enabling wireless printing.
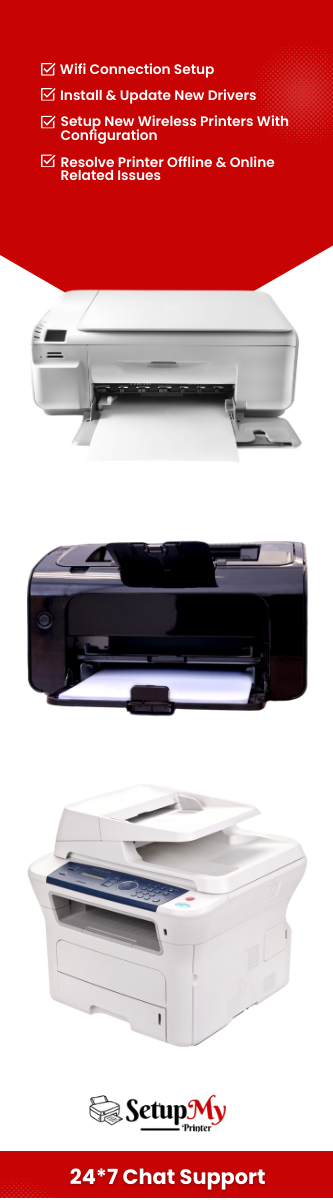
Home printers are small and easy to use. They help print documents, photos, and more. Common types include inkjet and laser printers for everyday printing needs.
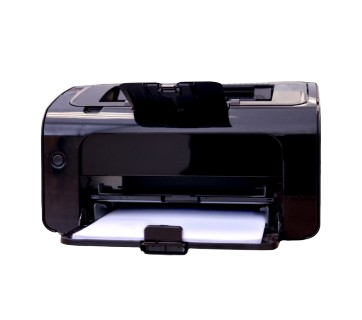
Office printers are fast and reliable, used for printing documents, reports, and images. They come in laser or inkjet types for different needs.
Mega Tank printers have large ink tanks that last longer and save money. They provide high-quality prints, are easy to refill, and are great for home or office use.
“The Canon printer setup was super easy! The instructions were clear, and I had it running in minutes. Prints are sharp, and wireless setup worked perfectly. Highly recommend!”

“I was worried about setting up my Canon printer, but it was simple! The step-by-step guide helped a lot. Now, I can print from my phone easily!”

“Great experience with Canon printer setup! It connected quickly to my WiFi, and everything worked smoothly. No issues at all. Perfect for home and office use!”


We support all types of printers, including inkjet, laser, MegaTank, all-in-one, wireless, and USB-connected printers from brands like Canon, HP, Epson, Brother, and more.
Yes! You can set up your printer on multiple devices by connecting it to WiFi. Install the printer drivers on each device and select the printer when printing. For USB printers, connect the cable and install the drivers on each computer.
Yes, we offer remote printer setup assistance. Our experts can guide you through the installation process, help with driver installation, network configuration, and troubleshooting. Contact us for support.
The printer setup process typically takes 15 to 45 minutes, depending on the model and connection type. This includes unboxing, installing cartridges, connecting to Wi-Fi or a computer, and installing drivers or software.